My Gallery

Welcome to Pikay's Gallery

I'm a self-taught crocheter/knitter that's always hunger to learn more. A mammoth thank you to all fellow crocheter/knitter that took their time to post videos and written tutorial. It wouldn't have been possible without your contribution! THANK YOU!

2/18/2012:

Wow! Another year slipped by...how time flies when you're knitting :) It's obvious, I've been slacking on my blog update. Last post was 4/27/11! I'm officially an occasional blogger only. What I slack off in blog, I more than made-up in knitting and crocheting. Most of my projects are somewhat recent on Ravelry.

Major milestone for 2011:

Shelliyanni went live on 8/6/11. My first knitting pattern for sale.

All patterns here are for personal and charitable use only. Please do not sell the patterns or the finished project. Thank you for honoring this request.


Stay-on Scarf and a Beanie Sling

This stay-on scarf is inspired by another fellow knitter, Jemajo. She created her Selbu Scarf using machine knitting. I am not familiar with machine knitting nor should I get anywhere near one because knowing myself, I would probably get addicted!

In my 2 years of knitting, I have only made one, yes, one scarf! Even then, I couldn't just start with a simple scarf. I had to go cables! Which, I think left an emotional scar which have yet to heal. This is probably why I am still not a big fan of cable knits! :p So this time around, I stick to the basic. I could crochet the scarf, it's definitely faster, but the drape of a crocheted scarf is no comparison to a knitted scarf.

12/30/10:
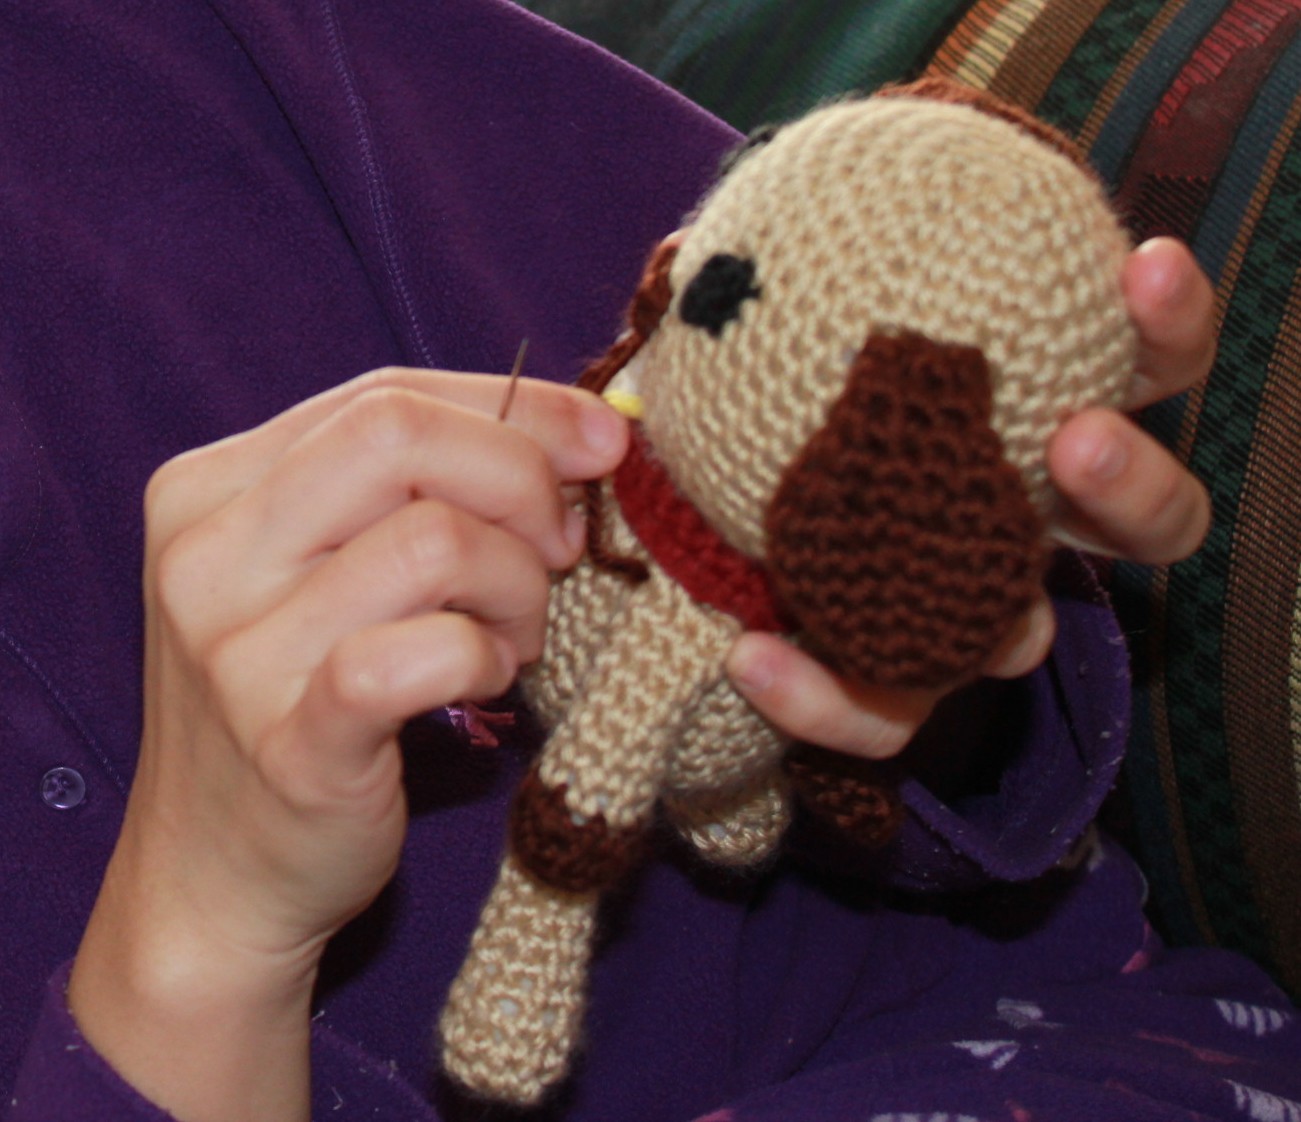
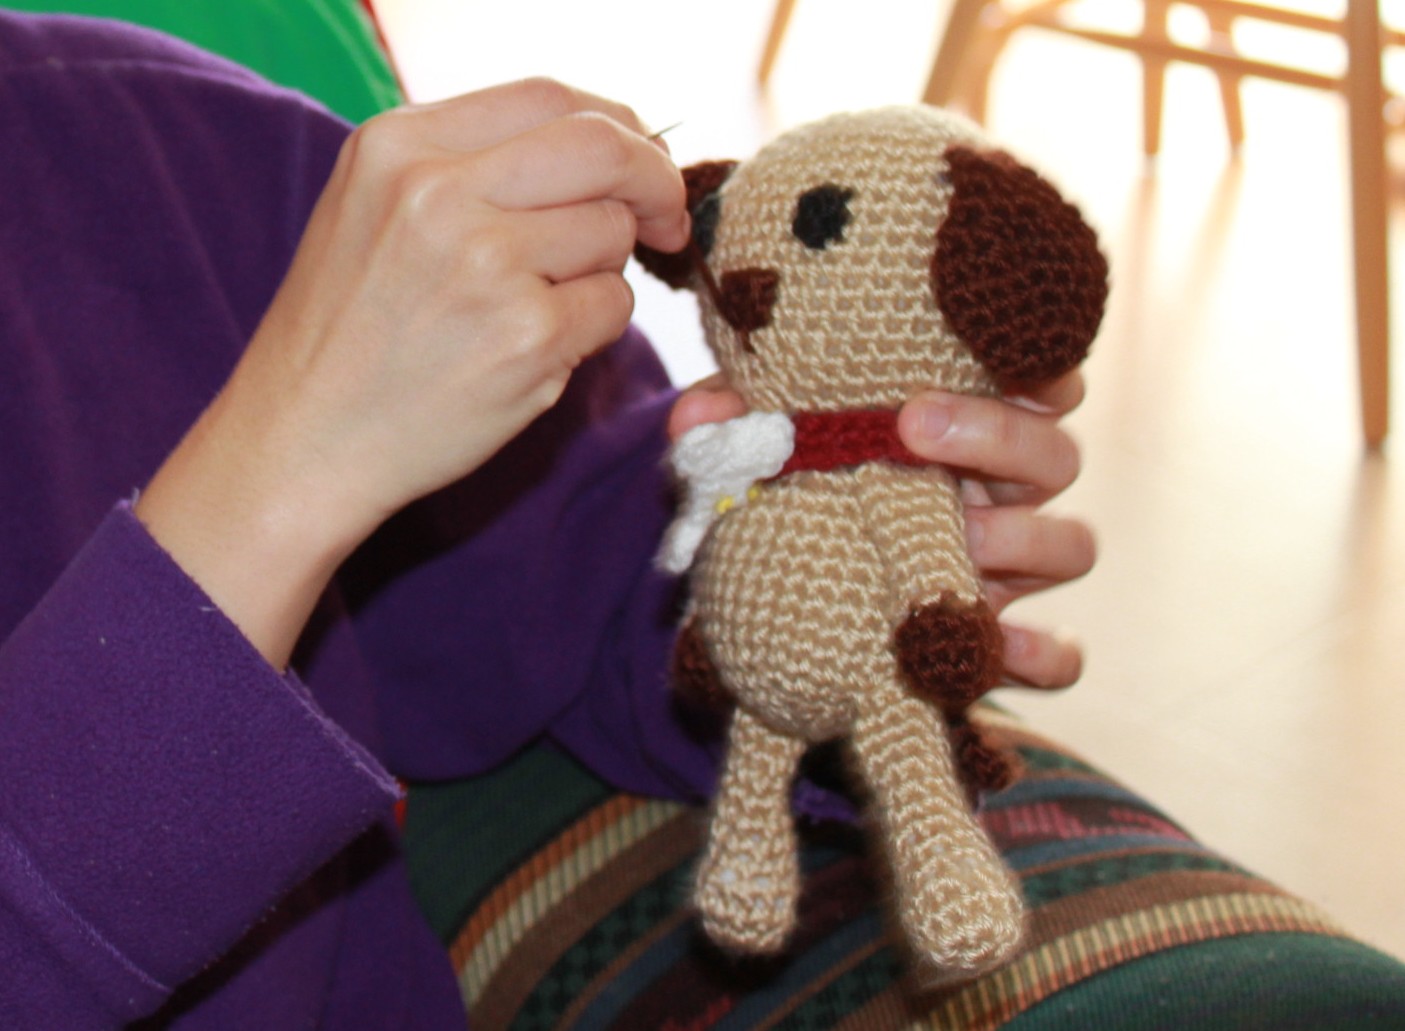
I'm still working on the 3rd scarf for my eldest. When I'm done, and if I wanted a break from knitcheting, I might actually go back and write down all the animal motifs pattern that I crocheted.

1/13/10:
Added B1's scarf photo.


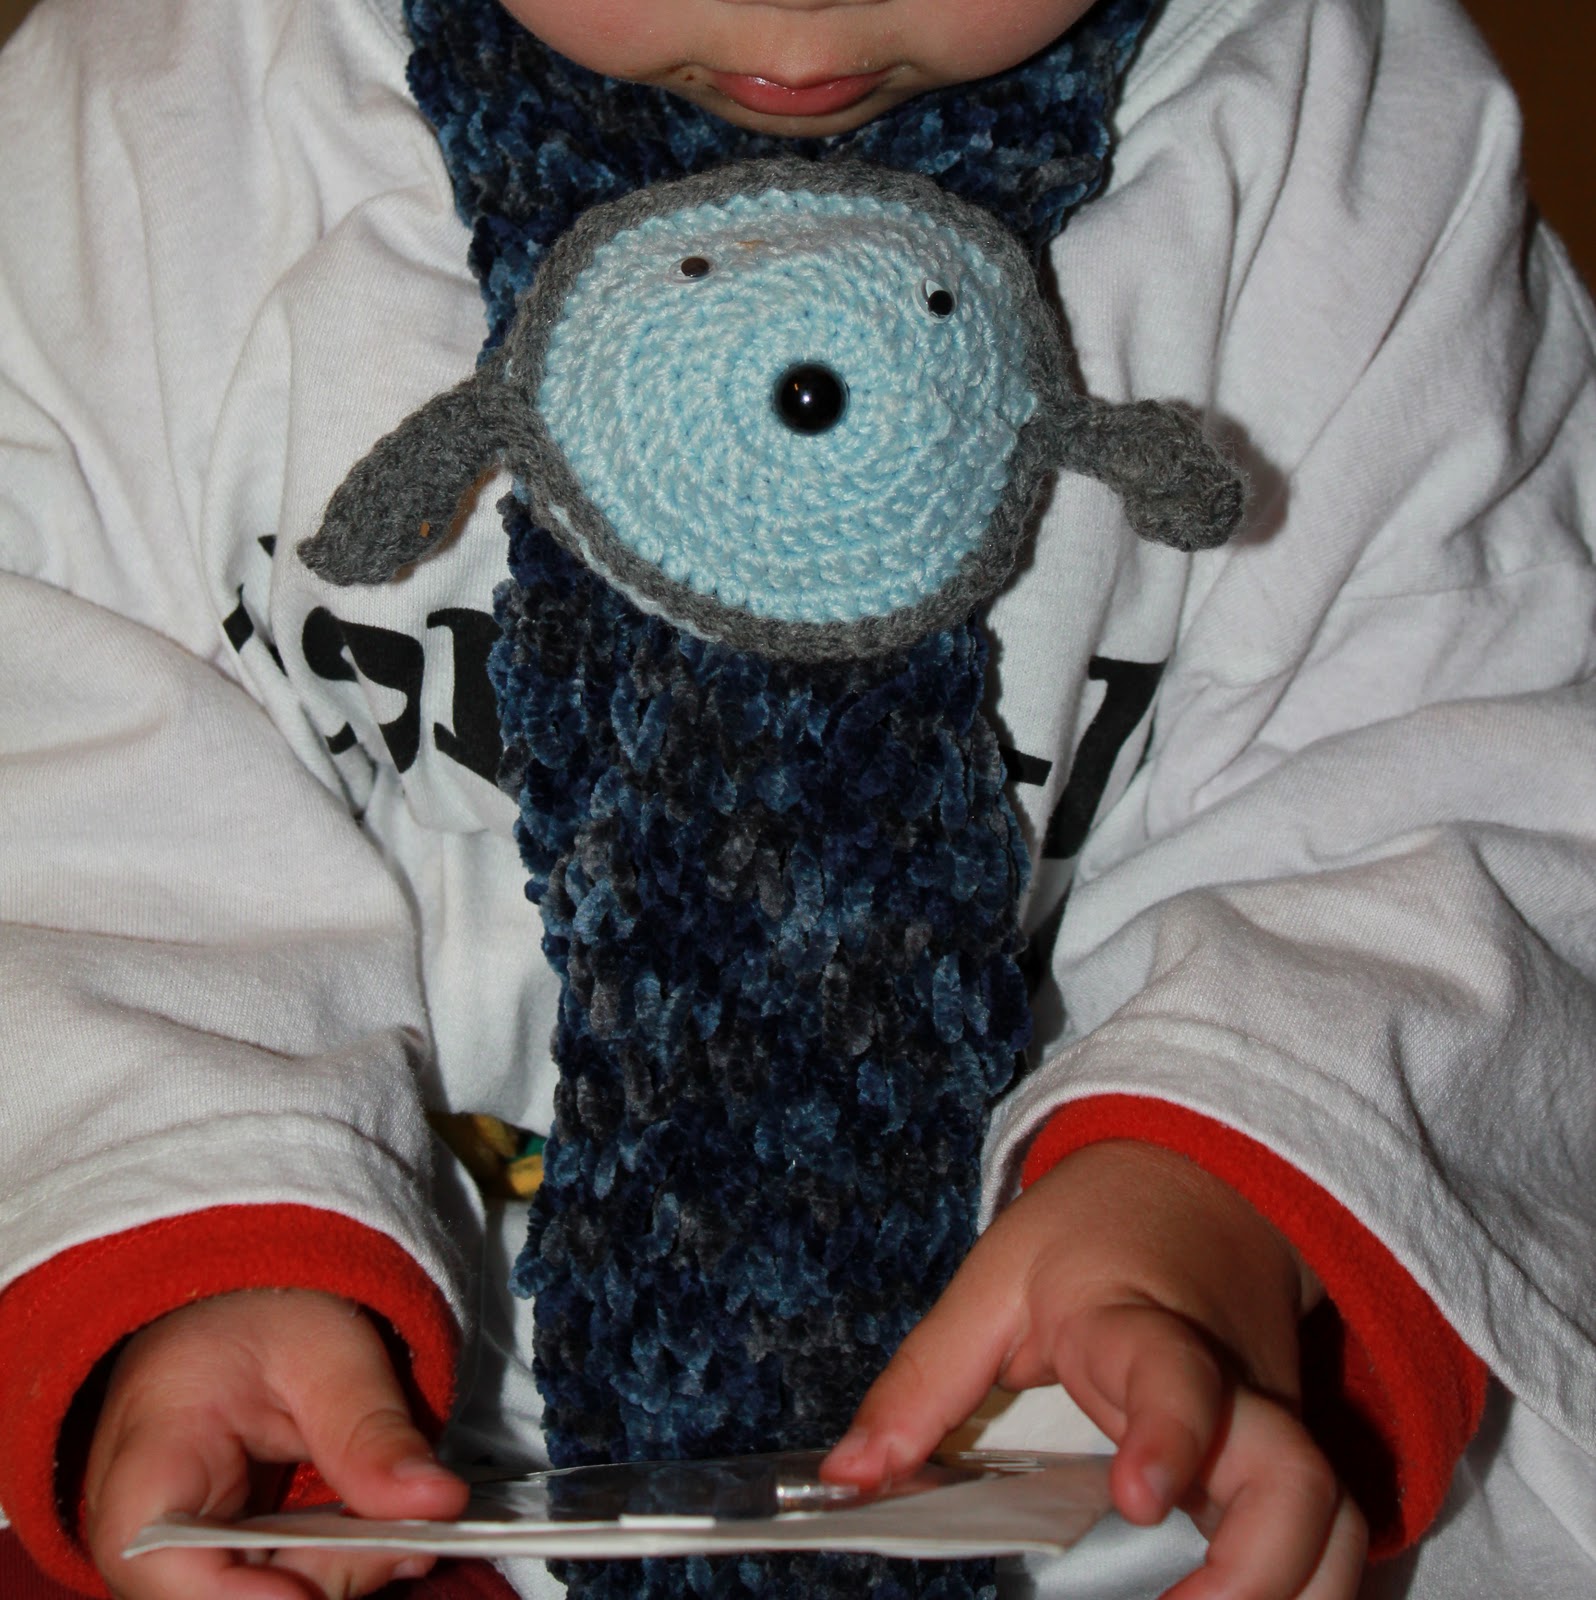
The dog motif is similar to his Summer Booties. I made it bigger here.

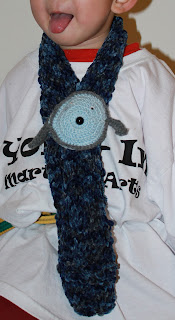
He's panting like a dog. ;)
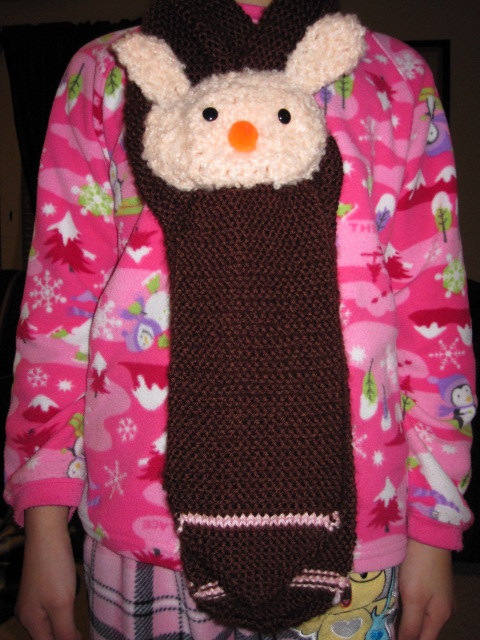
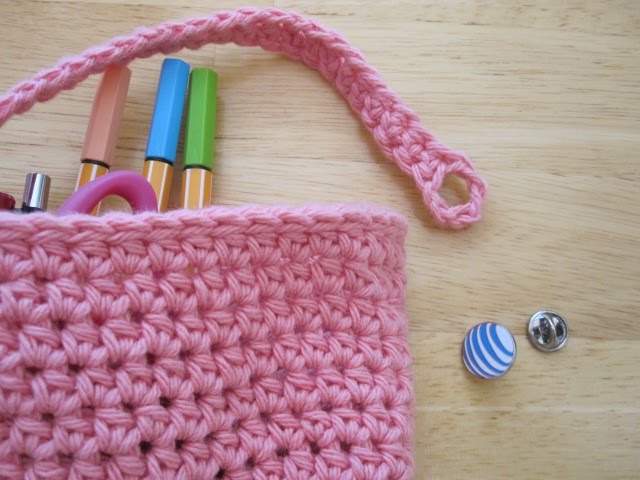
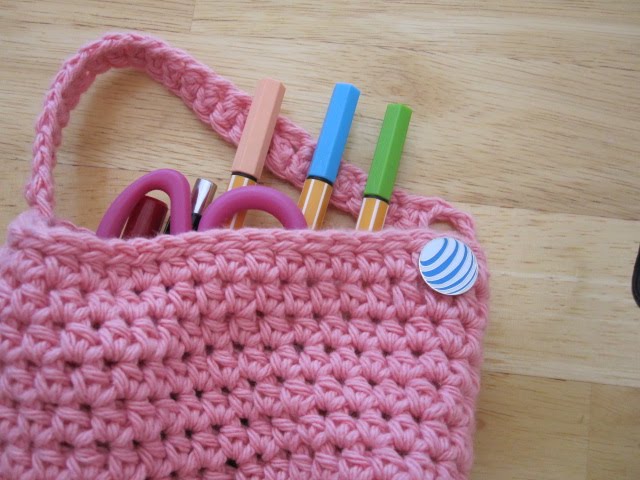
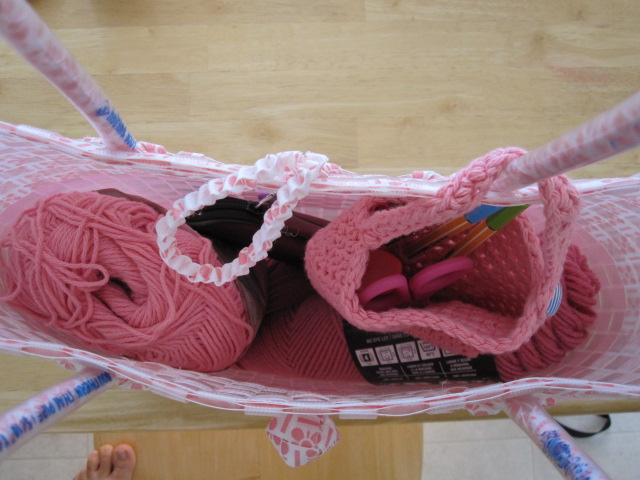
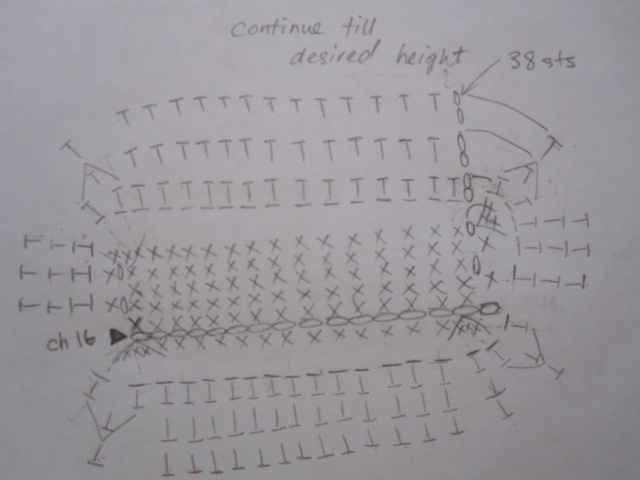
Scarf 
Needle: 8 (5.0 mm)
Yarn used:
Lion Brand Lion Suede
  • I started my son's scarf with garter border on the bottom, and on both sides, stockinette stitch in the middle. Never, ever knit a scarf using stockinette stitch, unless you want a tube! The finer the yarn, the more your scarf will curl into a tube-like thingy if knitted in stockinette stitch. Even by putting a garter border, depending on the yarn, some will still curl your scarf as your knitted scarf gets longer. I find the garter border works best with bulky yarn, especially boucle or polyester yarn.
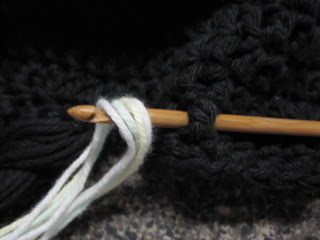
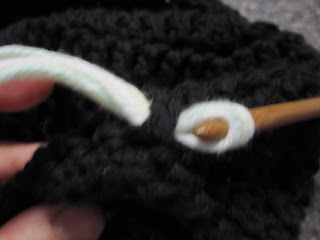
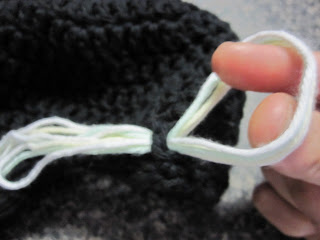
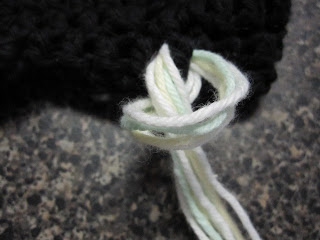
  • Then crochet a doggy face and attach to the scarf. 
  • Fold the scarf in half, the motif should be attach midway on one side of the folded scarf.


When I try the kitty scarf on my 2nd, she immediately said,
“OOOO I can put stuff in the kitty!”
I told her, “No sweetie, it goes through, it’s not a pocket.”
“No, no, I CAN put stuff in there!”, she exclaimed with much excitement.
No sense arguing with her, so I just said, “Yea, yea, now please hold still so I can see if I need to make any adjustment to the placement of the kitty.”

A day later, we went grocery shopping, and she wanted to bring one of her beanie cats. Low and behold, that’s how she carried it. With a "I told you so" smirk on her face, she said, “SEE! Mommy! I TOLD you I can put stuff in the kitty!” ;)


Scarf
Needle: 8 (5.0 mm)
Yarn used:
Bernat Pound of Love in pink


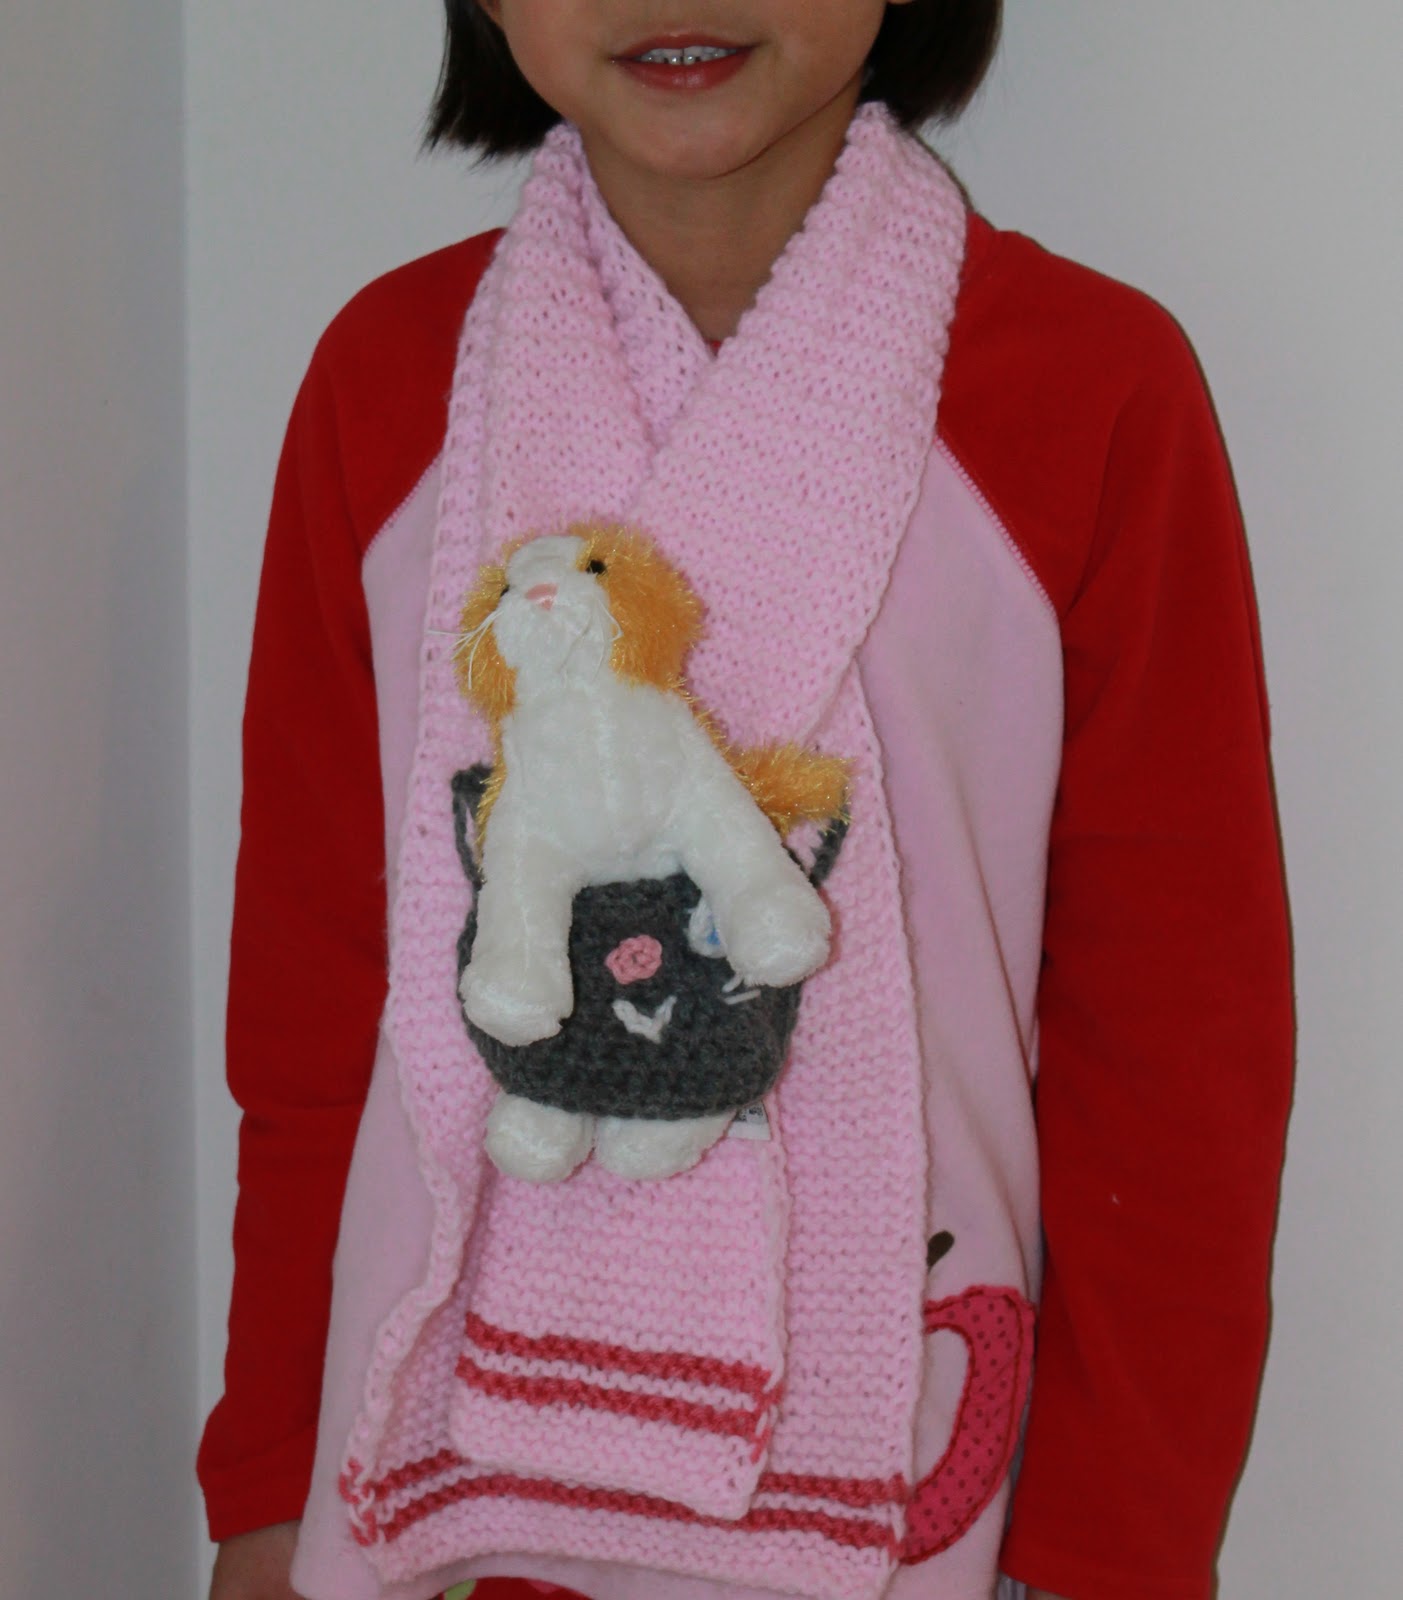
Mommy Cat slinging her baby. :)
  •   I knitted this scarf in garter stitch all the way.

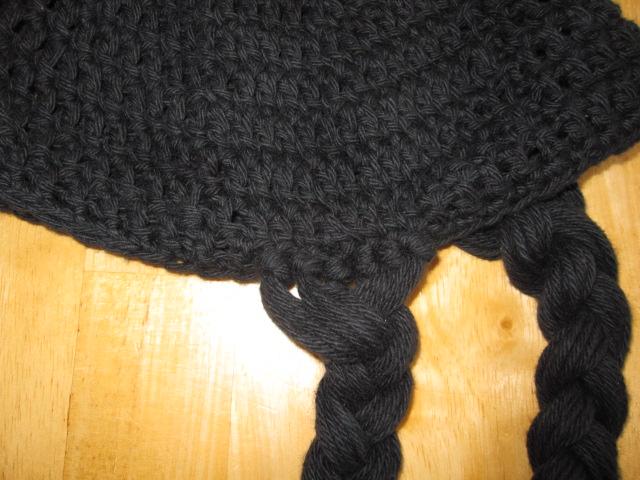
Needle: 4.0mm & 4.5 mm
Yarn: Caron Simply Soft in Dark Brown for the scarf
Applique: Bernat Boucle in Soft Orange

The One and Only Doggy

I don't normally like to crochet amigurumi. Why? Because it's just too much sewing and attaching of pieces!!!
Since this is a request from one of my dearest friend, I'll make an exception.

I must admit, I had fun creating this little fella. Yea, yea, sewing and all! :p We (as in my kids and hubby) didn't name it, because if we did, I'll probably have to end up making another one for my friend to bring home to her nephew! I didn't even get a chance to do a proper photo shoot of the doggy ;) It's a good thing my hubby was playing with his new camera, and went trigger happy with the buttons while I was putting the finishing touch on the doggy.


Decided if we should put a mustache on it. :)
I feel like a surgeon giving it a mouth.

It had a little soft "u" like smile as a mouth.
My camera man took off (note to self: need to fire that guy!), and that's the end of the doggy photo. I had a hard time letting it go. Maybe because it was my first amigurumi that I made up, or perhaps my son kept coming over and say "Aww..so hue, so hue! (cute)". I hope this little doggy will make someone really happy.

Beauty Silk Cami

Added some beads for the tulip flower using the hook beading method.

Knitted this for Pierrot’s 2nd Contest. Due to time constraint, I went with a camisole even though it's in the middle of winter! Oh well, at least I have a piece of new garment to greet summer with! :)


More details of this cami can be found here on Ravelry.

Curtain Tie-backs

Borders are inexpensive and a great way to embellish any tired old curtain.

Beaded Tie-backs


Beaded Tie Backs


Flower Tie-backs
The "hook" I used for the Flower Tie-backs, is just a plain old screw, which I glue (using hot glue gun) a jewel flower that fell off from my daughter's old crafts, to the head of the screw. Cheap, green and stylish! :)


The Pink Flamingo Skirt


Good grief! For the record, I DID NOT name this skirt ;) It's the owner that came up with the name! 


Yarn: Lion Brand Pound of Love in Pink
Needle: 4.0mm
Size: 3 - 4 years old

I drafted up 2 designs. Wavy Edge was the one I went with only because I wanted to knit in rounds. After having done it, I think I would prefer to knit in rows, even if it means having to sew! :P 

The Wavy Edge tends to curl a little. Therefore, in the future, I would add a 0.5" of Garter Stitch before commencing the wave pattern.
Wavy Edge


Heart Shape

Get Wiggy With It!


Need to clear off my yarn stash before I can add anymore. So this project is great for using up all the leftover yarns or in my case, I-can't-control-myself- and-over-bought yarns!

Forest Fairy Wig
Traditional Chinese Girl


Size: 22" in diameter
Hook: I (5.0 mm)
Yarn used:
100% AC Moore Mill Ends Cotton in Black (Chinese Girl Hair)
AC Moore Acrylic Mill Ends in Green (Fairy Forest Wig)

Stitch Used:
Dc dec – yo, insert hook into st and pull up a lp, yo and pull through 2 lps, yo, insert hook into next st and pull up a lp, yo and pull through 2 lps, yo and pull through all 3 lps.


Rnd 1
Using Magic Loop method, ch 3 (count as 1 dc), work 11 dc into loop – (12 sts). Join to top of Ch-3.
{Alternately, without Magic Loop method: ch 4, dc into 4th ch from hook. 11 dc into the same ch}

Rnd 2
Ch-3, 2 dc in each st, 1 dc in joining ch, join to top of Ch-3 – (24 sts)

Rnd 3
Ch-3, [Dc in next st, 2 dc in next st] to end, 1 dc in joining ch, join to top of Ch-3 – (36 sts)

Rnd 4
Ch-3, [Dc in the next 2 sts, 2 dc in next st] to end, 1dc in joining ch, join to top of Ch-3 – (48 sts)

Rnd 5
Ch-3, [Dc in the next 3 sts, 2 dc in next st] to end, 1dc in joining ch, join to top of Ch-3 – (60 sts)

Rnd 6
Ch-3, [Dc in the next 4 sts, 2 dc in next st] to end, 1dc in joining ch, join to top of Ch-3 – (72 sts)

Rnd 7
Ch-3, Dc all around – (72 sts)

Rnd 8
Ch-3, [Dc in the next 4 sts, dc dec] all around, join to top of Ch-3– (60 sts)

Rnd 9
Dc all around – (60 sts)

Rnd 10:
Sc all around - (60 sts). Fasten Off.


How to Tassel:

One strand
 
Half it

Using a large hook, insert hook through post of dc
 
Pull through
 
Make a large loop

Grab the "tail", and pull through loop
Pull downwards

Give each strand a tug to tightened.


Fairy Wig:
  • Put the "hat" on and mark where you want the fringe to start and stop. 
  • Measure how long your want your fringe, double that length. Now fold any piece of paper (or cut a cardboard) to that length (make sure you fold it several times to get a good thickness), then wind around the folder paper/cardboard at least 10x. Cut yarn on both ends. Now you have the strands of "hair", and you're ready to tassel it to the "hat". If you don't have enough "hair", just make more as you go along.
  • Take 2 strands of "hair", and tassel through every row (or every other row if you find your wig too full) on the post of dc, and on every other stitch. Each tassel would have 4 strands.
  • Repeat the same for the length of the side and back. When making the "hair" for the back and side, as it is much longer than the fringes, I sat on the floor, heel firmly on floor, toes up, and wind the yarn round my toe-thumb! ;-) This is easier than trying to find an object or trying to cut a cardboard/paper to the length desired.
  • When you're done, put the wig on and give it a trim. This is the most FUN in making this project, getting to play hair stylist ;-)
  • To give it a finishing touch, add clips, pins, ribbons to your liking.

Chinese Girl Hair:
6 tassels on last row of dc post
  • I didn't need to add any fringe as my daughter has black hair, and it camouflage really well. All I needed to do is add the braids.
  • Put on "hat", mark on the last row of dc, just behind the ears, where the braids will start.
  • Cut the length desired. I used my staircase post to wind this wig. 
  • With 4 strands of yarn (this would double to 8 strand when tassel-in), tassel to the last row of dc post (where marker is).
  • Continue to add 5 more tassel - total of 6 tassels.  
  • Take 2 tassels (16 strands of "hair") each, and start braiding.
  • Tie off end of braid with bands and add ribbon or any cute hair accessories. Trim the bottom, so it's even, if needed.

Jacquards Macaroon V Vest


It is wonderful to be able to incorporate such a lovely colored garment without having to switch yarn, intarsia or any other color-knit/picture technique, BUT it does come with a major downside when knitting with Jacquards... matching up the color stripe if you're knitting anything other than in rounds or continuous square/rectangle.

For this vest, it was fun until it comes to separating for back, and V shoulder shaping. In order to keep the color stripe pattern consistent, one would have to cut the yarn in different length, and section. It just defeat the purpose of an easy self-pattern, color knitting. On the contrary, it just became more hassle than knitting with more than 2 color of yarn.

I had to estimate how much of the "brown" section and "dotted" section of the yarn is needed to knit the different width for the back, and shoulder. Lots and lots of yarn cutting, and mad load of weave-ins!! 


Yarn: Bernat Jacquards in Macaroon
        Bernat Baby Sport in Baby Blue for edging

Needle: 4.0mm
Size: 24 months old


  • Armhole edging is crochet of 4 rows of sc
  • Neck edging: PU 77 and I used Seeded St

Bone Bag


Since both Pluto and Dino didn't have a Halloween treat bag, a Bone seems to be the perfect treat!

This is crochet without sewing, including the straps. Making this bag was fun for me as it is like playing with a puzzle... think of it as one of those puzzle where you have to draw an object continuously without lifting your pen, which in this case, how to crochet without having to constantly fasten off, and eliminate sewing.

The bag is worked in rounds, and then the straps are worked up (on the final round of the bag), and then attached when worked to complete the bag.


When working the straps, at first I tried dc, turn, dc, turn... but off course that leaves a very sloppy edge which definitely needs an extra sc or sl st on BOTH edge sides. Bear in mind, this like a puzzle, once you go up the straps, you gotta come back down to continuously work the bag without having to fasten off. Coming back down is a one way street. There's no way to work BOTH side of the strap edge without having to attach another yarn which yield to more weave in... UGH not to my liking!
So in the end, I came up with reverse sl st (rev sl st).  This would ensure that the strap is being continuously worked on the RS, without having to turn the work. Now that the turning sticth is eliminated, I only have to worry about the left edge, which will be sl st that takes me back down to my bag. This would create a much nicer edging compare to the turning stitch edging.


Once the bag is completed, the "bone curve" are worked in from top to side. Then sl st over to the other side to add the other set to "bone curve".


Finished measurement:
Width:6, Length: 5", Height: 4"


Hook: F (3.75 mm) and some stitch markers
Yarn: Bernat Super Value in Yellow or any worsted 4-ply.

Stitches used:
Hdc – yo, insert hook into st, yo and pull up a lp, yo and pull through all 3 lps.
Rev sl st - insert hook on the previous stitch to the right, yo and pull through lp.


Ch-25
Bottom:
Rnd 1:
From the 3rd st from hook, dc in all ch. (24 sts). Turn

Rnd 2 - Rnd 9:
Ch-2 (count as 1 dc), dc from 2nd st and in all st, including top of ch-2. Turn. (24 sts).

Side: work in rounds from here on.
Rnd 1:
Work 20 sc evenly down the side post of dc (20 sts), sc in each st of chain base (24 sts), work 20 sc evenly up the side of post of dc (20 sts), sc in each st of dc (24 sts). Join with sl st to 1st sc. Total of 88 sts.


Note:
From here on, it'll help tremendously (when working the "bone curve") to put stitch marker as you work up the bag. I didn't use the st markers, and had to count each row, which slowed me down.
Each side of bag is 20 sts, and front of bag is 24 sts. Each round would start with side of bag, then front, then side and lastly front again, before joining to the beginning stitch. Therefore, put a marker on the 20th stitch, put a marker on the 24th st, put a marker on the 20th st.

Rnd 2: work in back loop for this round only
Ch-2 (count as 1 dc), from 2nd st, dc in all around in the back loop. Join with sl st to top of ch-2 (88 sts)

Rnd 3 - Rnd 9:
Ch-2, dc all around. (88 sts)

Rnd 10:
Ch-2, dc in the next 12 sts
Strap:
(Rev sl st in next 4 sts, ch-2, dc in next 3) 12x, sl st back down to the bag, at the back loop of dc post. Cont. to work dc round of bag.
Dc in next 8 (the 20th st for side of bag), dc in next 24 sts (front of bag), dc in next 8 sts
Joining of Strap:
  • Dc in next st, BUT before completing the dc, with the last 2 lps on hook, line up the strap, insert hook into corner of strap, yo and pull through all 3 lps.
  • Dc in next st, before completing the dc, with the last 2 lps on hook, insert hook into 2nd st of strap, yo and pull through all 3 lps.
  • Dc in next st, before completing the dc, with the last 2 lps on hook, insert hook into 3rd st of strap, yo and pull through all 3 lps.
  • Dc in next st, before completing the dc, with the last 2 lps on hook, insert hook into corner of strap, yo and pull through all 3 lps.
Continue to work dc in the next 8 sts (the 20th st for the other side of bag), dc in next 24 sts, join to top of ch-2. Fasten off.

Curve of Bone:
With front of bag (the 24 sts) facing you, from the top left corner, count backwards 5 dc, and start from there.
Rnd 1:
ch-1, hdc in next, dc in next 3 sts, 3 dc in corner, work 2 dc evenly on the side post of dc in Row 1 (where marker is) *Side note, work 2 dc in post of Row 2,  work 1 dc in between row,  work 2 dc in post of Row 3, work 1 dc in between row, work 1 hdc in post of Row 4, sc in post of Row 5. Ch-1. Turn.

The in-between Row marked in circles.

*Side Note:
When you're working with the starting of row (when working the bag), the ch-2 will be easy to see, but when working the other 3 side edges, it won't be as easy to detect the "20th" or "24th" dc. That's when the marker comes in handy.

Rnd 2:
Hdc in next st, (dc in next st, 2 dc in next st) 4x, dc in next st, 3 dc in next st, dc in next st, 2 dc in next st, dc in next st, sk 1 st, sc in next st. Ch-1. Turn.

Rnd 3:
Sk 1 st, sc in next 19 sts, sl st in next 2 sts, sl st in post of Row 5, hdc in post of Row 6, work 2 dc in post of Row 7, work 1 dc in between row, work 2 dc in post on Row 8, work 1 dc in between row, work 2 dc in post of Row 9, 3 dc in next st, dc in next 3 sts, hdc in next st, sl st in next st, ch-2. Turn.

Rnd 4:
Sk 1 st, hdc in next st, dc in next st, 2 dc in next st, dc in next st, 3 dc in next st, dc in next st, (2 dc in next st, dc in next st) 3x, hdc in next st, sc in next st, sl st in next, ch-1. Turn.

Rnd 5:
Sk 1 st, sc 18, sl st in next 2 st, sl st to bag^. Sl st over to the other side until it's 5 dc away from the corner, and repeat Rnd 1 - Rnd 5 but stop at ^ and fasten off.

Repeat Curve of Bone for the other front side of the bag.

Mad Capper!


My initial intention was to make ONE cap for a friend's daughter who just recently turned 1 year old. Instead, I ended up with 4 caps before I reached the perfect fit! She's a petite little girl, that's why I started out making the cap small, only to find  that her head isn't as small as it looks ;) It wasn't till I took measurement of her head that I finally got her size!

1st attempt, which ended up being my daughter's Curious George's cap
2nd cap, still a bit too small. Would fit a 6 months old perhaps.


 3rd cap, too big! Fit a 3T.


4th. Finally! The perfect fit!


The 4th cap.


Each cap I made has a different variations. The pattern below is for the final cap.


Size: up to 12  months (finished cap measure 20" in diameter)
Hook: 3.75mm & 3.25mm

Yarn used:
Lion Brand Pound of Love in Pink (MC - Main Color)
Red Heart Super Save in Lt. Raspberry (CC - Contrasting Color)

Stitch markers, I used small safety pins (from Dollar Tree)

Stitches used:
Hdc – yo, insert hook into st, yo and pull up a lp, yo and pull through all 3 lps

Dc dec – yo, insert hook into st and pull up a lp, yo and pull through 2 lps, yo, insert hook into next st and pull up a lp, yo and pull through 2 lps, yo and pull through all 3 lps.

Magic Loop/Adjustable Ring – By using magic loop, it eliminate the gaping hole when crocheting in rounds.

NOTE:
Work in continuous rounds without joining. Place a stitch marker in first st of every round. Join only from Rnd 11 onwards.
• Do not fasten off when switching colors. Simply drop the color not being worked, and pick up the ones currently being used.


With larger hook
Rnd 1
With MC, using Magic Loop method, ch 3 (count as 1 dc), work 11 dc into loop – (12 sts)
{Alternately, without Magic Loop method: ch 4, dc into 4th ch from hook. 11 dc into the same ch}

Rnd 2
2 dc in top of ch-3 and in each st – (24 sts)

Rnd 3
[Dc in next st, 2 dc in next st] all around – (36 sts)

Rnd 4
[Dc in the next 2 sts, 2 dc in next st] all around – (48 sts)

Rnd 5
[Dc in the next 3 sts, 2 dc in next st] all around – (60 sts)

Rnd 6
[Dc in the next 4 sts, 2 dc in next st] all around – (72 sts)

Rnd 7:
[Dc in next 5 sts, 2 dc in next st] all around - (84 sts)

Rnd 8:
Dc all around - (84 sts)

Rnd 9:
[Dc in next 5 sts, dc dec] all around - (72 sts)

Rnd 10
Dc all around (72 sts). (To change color: Before pulling through the last 2 loops of the last dc, change to CC, then yo with CC and pull through the 2 loops to complete the last dc.) Do not fasten off. Simply drop the MC, and work with CC.

Rnd 11: (with CC)
Sc in next, [sk next st, 3dc in next st, sk next st, sc in next st) 17x, sk next st, 3dc, sk next st, drop CC, switch back to MC, sl st to 1st sc. (18 shell clusters)

Rnd 12:
Ch-3 (count as 1 dc), 4dc in same st, [sk next st, sc in next st, 5 dc in next st, sk next st, sc in next st]16x, sk next st, 5dc in next st, sk next st, switch to CC, sl st to top of ch-3. (18 shell clusters)

Rnd 13:
Repeat Rnd 11

Rnd 14:
Sc all around, sl st to 1st sc - (72 sts)

Visor:
Rnd 1:
Sc in next, hdc in next, dc in next, [2dc in next, dc in next]10x, hdc in next, sc in  next, sl st in next. Turn.

Rnd 2:
Sc in 2nd st, hdc in next,dc in next, [2 dc in next, dc in next 3]7x, 2dc in next, dc in next, hdc in next, sc in next, sl st in next. Turn.

Rnd 3:
Sc in 2nd st, hdc in next, dc in next, 2 dc in next, dc in next 5 sts, 2dc in next, dc in next 23 sts,  2dc in next, dc in next 5 sts, 2dc in next, dc in next, hdc in next, sc in next, sl st, join to hat with sl st. Turn.

Rnd 4:
Sc in all sts of visor, join to hat with sl st. Drop MC, pick up CC.

Finishing off:
Sl st in all sts on visor.
Switch to 3.75mm, sl st all around hat. Fastened off.

Little Scissor Holder


Getting tired of fishing for my scissor, stitch marker, and pens in my crochet bag, I made this little carrying bag for it.

Hoops for pens
Hoops for scissor
The hoops are made as I crochet the hdc. Using this method, you can place the hoops to your liking. To hold wider items, like scissor, ruler, chain longer. Example, my pen holder, I ch 3, while for my scissor, it's ch 4.


This method may be apply to make a crochet hook or knitting needle pouch/keeper.

My stitch marker, which consist of safety pins
Using pin button instead of having to sew one!
Wahla! Instant button. Gotta love that! :)
Now it's easy to attach & detach my Little Holder Bag.


Hook: 5mm
Yarn: Bernat Handicrafter Cotton in Country Pink


Ch 16
Rnd 1:
From 2nd ch, sc in all ch (15 sts). Turn

Rnd 2:
Ch 1, sc in 1st sc and all sc(15 sts). Turn

Rnd 3:
Ch 1, sc in 1st sc and all sc (15 sts). Do not turn. Continue to work in round.

Rnd 4:
Ch 1, sc in 1st sc and in next 14 sc, 3 sc in last sc, 2 sc in side of work piece, 3sc in 1st base ch, sc in next 14 base ch, 3 sc in last base ch, 2 sc in side of work, 3 sc in ch, join with sl st to ch 1.

Rnd 5: work in BACK loop
Ch 2 (count as 1 hdc), hdc all around, sl st to ch-2. (43 sts)

Rnd 6:
Ch 2, from 2nd st, hdc in next 13, hdc 2 tog, hdc in next 3, hdc 2 tog, hdc in next 14, hdc 2 tog, hdc in next 3, hdc 2 tog. Join to top of ch-2 (38 sts)

Rnd 7:
Ch 2, hdc all around, join to top of ch-2. (38 sts).

Rnd 8:
Ch 2, hdc in next 2, [*turn work, insert hook into the hdc just made (2nd), yo & pull up a lp. (2 lp on hook). Work the 1st lp only, ch 3, turn work back, insert hook into next hdc, yo & pull up a lp, yp & pull through all 3 lps*, hdc in next 2]. Repeat [ ] 3x. Continue to hdc. On the 25th hdc, repeat * to * BUT ch 4 (for scissor holder), hdc on the rest of st, join with sl st to top of ch-2 (38 sts)
Turn work, insert hook into hdc just made, yo & pull up a loop.
2 loops on hook
Working the 1st loop only, ch 3 (or more for holding wider item)
Turn work back, insert hook into next hdc
Pull up a loop, yo & pull through all 3 loops (this is a actually a hdc stitch)
Completed hoops for item holder

Rnd 9 & Rnd 10:
Ch 2, hdc all around, join to top of ch-2. (38 sts).

Rnd 11:
Repeat Rnd 8. As I wrote this after I've completed the bag, my counting may be off. Be sure to check, when you make the 2nd row of hoop holder, that it is lined up with the hoops made on Rnd 8.

Rnd 12 - Rnd 18:
Ch 2, hdc all around, join to top of ch-2. (38 sts).

Finishing off & Strap:
Sl st in next 3, ch 30, hdc 6th ch from hook, hdc in all ch, sl st to next hdc of bag, continue to sl st around top of bag. Join to 1st sl st. Fasten off.